Skip to main content
Search
Search This Blog
Refugee Crafter
Posts
Showing posts from April, 2008
Show all
April 23, 2008
Dee-Doe
April 23, 2008
Maddie's Page
April 23, 2008
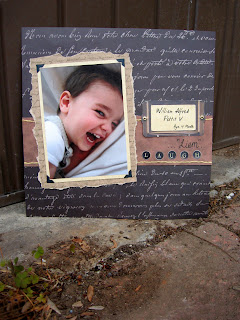
Liam Laugh Page
April 21, 2008
Baby Shower Invitations
April 08, 2008
New Coat
April 08, 2008
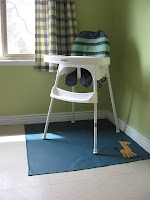
High Chair Projects
Newer Posts
Older Posts
Home