Skip to main content
Search
Search This Blog
Refugee Crafter
Posts
Showing posts from May, 2008
Show all
May 29, 2008
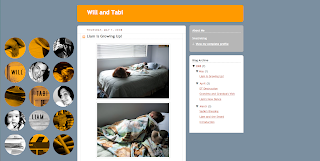
Liam's Birth
May 29, 2008
Daddy's Little Boy
May 29, 2008
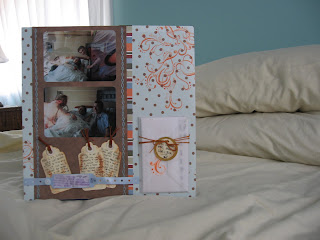
Thank You Card
May 28, 2008
June Layout
May 22, 2008
Mo Willems
May 20, 2008
Trash to Treasure Armoir
May 20, 2008
My Bedroom
May 20, 2008
New Baby Announcement
May 09, 2008
Liam's Book of People He Loves
May 08, 2008
New Card
May 08, 2008
Another New Layout
May 07, 2008
New Month, New Layout
May 03, 2008
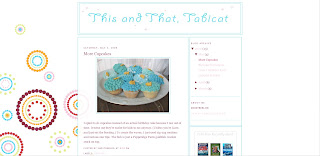
More Cupcakes
May 03, 2008
Birthday Invitations
May 03, 2008
Liam's Birthday Party
May 01, 2008
Cupcake Bouquet
Newer Posts
Older Posts
Home