Skip to main content
Search
Search This Blog
Refugee Crafter
Posts
Showing posts from August, 2008
Show all
August 27, 2008
Dress Auction for Nie
August 27, 2008
Wandering Waif Collection GIVEAWAY !!!!!!!
August 25, 2008
Trash to Treasure Dresser
August 21, 2008
Apple Orchard Overalls GIVEAWAY !!!!!!!
August 20, 2008
A Three Hour Chore
August 19, 2008
Garden Party Frock GIVEAWAY!!!!
August 19, 2008
Jack and Lily Shoe Giveaway!
August 17, 2008
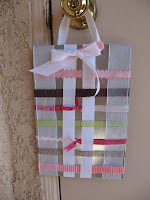
Hair Clip Holder
August 14, 2008
Summer by the Lake Swimsuit GIVEAWAY!!!!
August 13, 2008
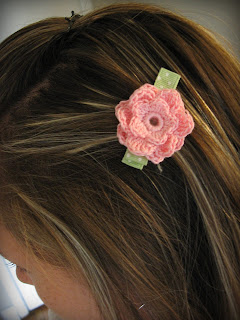
Red Flower Clip
August 10, 2008
Which Austen heroine are you?
August 10, 2008
Nantucket Weekend GIVEAWAY!!!!
August 05, 2008
And the winner (drawn from a hat) is...
August 05, 2008
Hospital Scrapbook Page
August 05, 2008
Variation on Crocheted Flower Clip
August 05, 2008
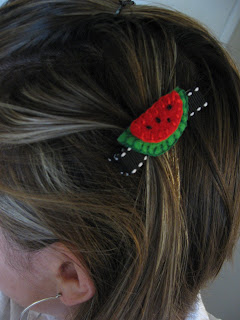
Watermelon Clip
August 04, 2008
Paperdoll Frock GIVEAWAY!!!!
August 01, 2008
Dress Update
August 01, 2008
The Proper Care and Feeding of Husbands
August 01, 2008
Fields of Gold Frock GIVEAWAY!!!!
Newer Posts
Older Posts
Home