Skip to main content
Search
Search This Blog
Refugee Crafter
Posts
Showing posts from November, 2008
Show all
November 21, 2008
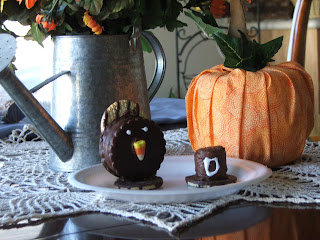
More Thanksgiving Goodies!
November 21, 2008
Autumn Leaves
November 14, 2008
{Photo Story Friday} Little Prankster
November 12, 2008
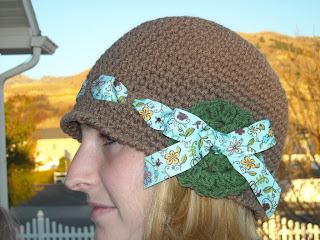
Frolicking Frock
November 05, 2008
Today is the Best Day EVER!
November 05, 2008
Snowman Mitten
November 05, 2008
Blog Award
November 01, 2008
Picture This.
November 01, 2008
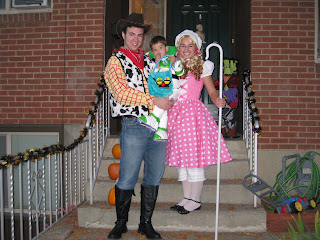
Halloween Costumes 2008
Newer Posts
Older Posts
Home