Skip to main content
Search
Search This Blog
Refugee Crafter
Posts
Showing posts from December, 2008
Show all
December 29, 2008
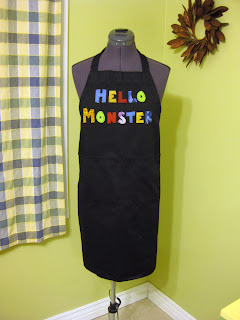
Hello Monster Apron
December 27, 2008
Santabi
December 08, 2008
Dishtowels
December 08, 2008
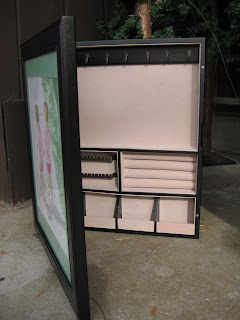
Jewelry Box
December 05, 2008
{Photo Story Friday} The Best Laid Plans
Newer Posts
Older Posts
Home