Maddie's Photoshoot
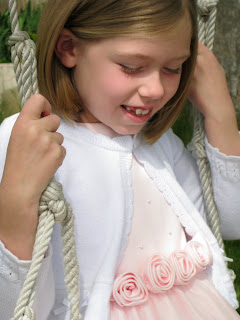
To celebrate the momentous occasion of turning eight, my niece and I had a photoshoot. Here are a few of my favorites:
This is a fun effect I've been playing with lately. There's a quick how-to rundown at the bottom of this post. Email me if it doesn't make sense.

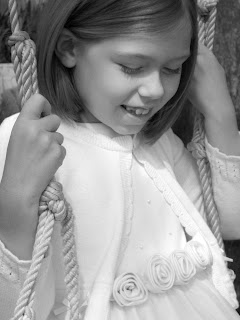
Also quite lovely in black and white.

Quick How-to mentioned above:
1. Open the file in Photoshop, and then duplicate the background layer by clicking and dragging it over the little icon that looks like a paper with the edge folded back at the bottom of the layer palette.
2. On the top layer go to Image-Adjustments-Hue/Saturation. Check the box that says "colorize."
3. Change the hue to a sepia tone by moving the slider on the top line. (I also adjusted the saturation to make it more vivid.)
4. Click OK.
5. Then, go to Image-Adjustments-Levels and move the sliders under the graph to make the "lights/whites" really light and the "darks" darker.
6. Next, change the blending mode of the sepia layer to "multiply" by using the options at the top of the layer palette.
7. At this point, the picture may look a little dark.
To fix this, either change the opacity of the top sepia layer OR what I prefer to do is change the levels (Image-Adjustments-Levels) of the bottom layer so that it is a little washed out.
8. Here is the final picture...for tutorial's sake. I erased a little of her eyes on the sepia layer to let the blue shine through, and I also darkened the edges of the photo a bit.


Comments